Official California Detailing Blog
How to Install Paint Protection Film: Step-by-Step Guide
March 21, 2023
Paint protection film (PPF) is a great way to protect your vehicle's paint from scratches, chips, and other sorts of damage. While it may appear difficult at first, anyone with the correct tools and techniques can install PPF on their automobile. In this article, we will walk you through the steps of installing PPF on your vehicle, guaranteeing that the paint on your vehicle remains in good condition.
Step by Step Guide for Installing Paint Protection Film
Preparing the Vehicle for Paint Protection Film
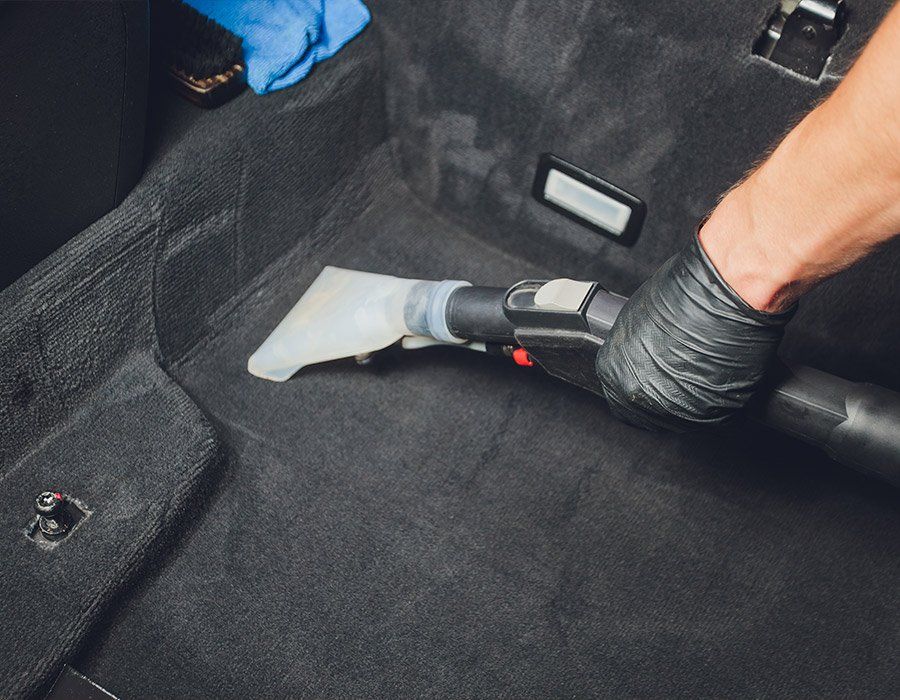
Before putting paint protection film on a car, it needs to be cleaned and prepared well to make sure the end result is clean and perfect.
To get a perfect finish, you need to clean and prepare the car with the right tools, like soft clothes, sponges, and specialized car cleaning products. This will make sure that the car's exterior and interior surfaces are thoroughly cleaned and protected. This is especially important if the vehicle is dirty and requires maintenance. The first step is to wash the vehicle's surface with a suitable cleaning solution to remove any dirt, dust, or other contaminants. Use a high-quality automotive wax made for installing paint protection film to get rid of bigger pieces of dirt.
Once your vehicle has been washed, a clay bar can be used gently on each section that you plan to cover in paint protection film. This should be done before anything else, as this will help remove leftover particles left from washing and increase adhesion when installing the film. Also, make sure to use only high-grade microfiber towels when wiping down the vehicle between detailing and applying the film, as regular paper towels are not as effective and can leave residue of their own behind.
Make sure all areas that need to be covered with paint protection films are dry and free of any dirt or debris before starting the installation process. Any excess water or moisture left over from the previous steps should be wiped away with a lint-free cloth. This final step ensures that no dirt or other debris gets trapped beneath the film after it is applied, giving your finished product a more finished appearance with no air bubbles and fewer wrinkles.
Installing Your Paint Protection Film
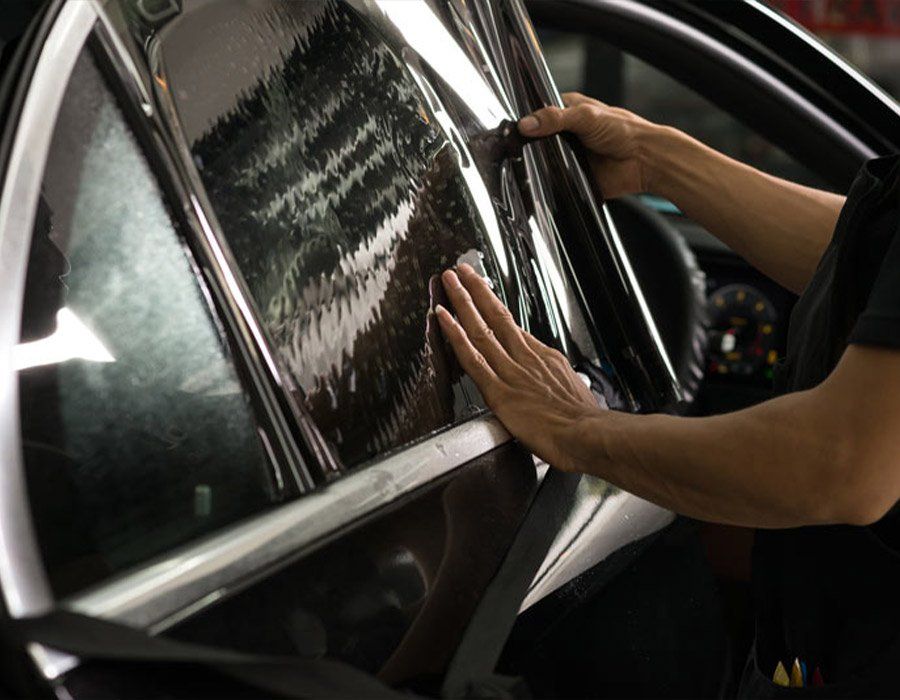
It's time to start applying your PPF once the surface is ready. It is advised that you install one piece of film at a time, working outward from the center of the panel. Working on one section at a time lets you place and adjust each piece more precisely before putting it all together. Patience is key, as this process may take several hours, depending on the size and complexity of the application. Be sure to take your time and work carefully!
Next, you must use a squeegee or other tools to apply even pressure across the entire sheet of PPF when adhering it to the surface. This helps to ensure that air bubbles do not form between the edge of the PPF and the surface, leading to premature peeling or lifting over time. Prior to ensuring there are no issues with fitment, you should again double-check that there are no dirt, dust, or particles trapped beneath the PPF that could cause problems later on down the line.
Applying Solution to the Surface
The surface needs to be appropriately cleaned and treated with a slip solution before the paint protection film is applied. As you position the film on the vehicle, slip agents, such as POLI-GRIP or comparable products, reduce friction between the installer's hands and the film. Also, because these solutions keep dirt and dust from sticking to the glue, they help prevent long-term problems.
Soap solution is a great way to keep dirt and dust from sticking to the glue, as it forms a protective barrier that helps prevent long-term problems, so it is an ideal solution for those looking to protect their projects or films from dirt and dust buildup.
Make sure to evenly coat the entire area where the film will be applied when using a slip solution. All that is required is a single light coating; you don't want to spray too much and end up with a buildup of liquid on the surface. This can cause minor staining in areas where the film coverage is uneven.
Using a heavy or thick layer of solution can also have an impact on how well the film adheres to the surface; if there is too much buildup, it can take longer for a good bond. Also, if nothing is done, moisture can get under any paint protection film and cause it to peel off prematurely. So, it's important that installers only use enough product to get the best results, without spraying too much or getting too much solution on the car's surface.
Applying an appropriate amount of solution before beginning installation is essential in order to ensure that your paint protection film bonds effectively with your vehicle’s paint work and lasts through all types of weather conditions. With a clean and appropriate application of slip solution across all surfaces that will have film applied, you are now ready for the next step: cutting and applying the actual film itself.
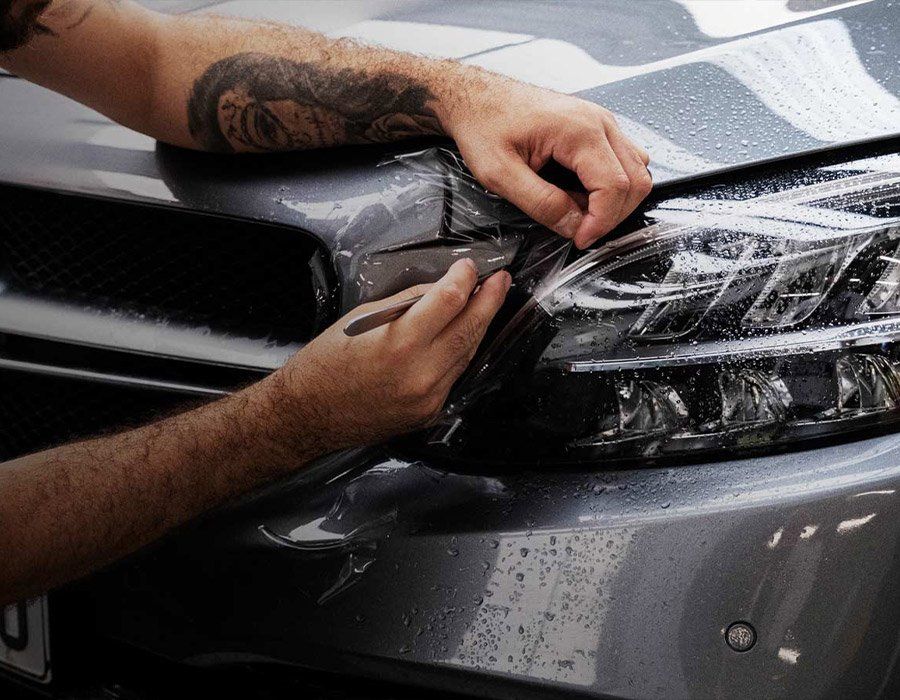
Cutting and Applying the Film
There are two techniques for cutting and applying paint protection film: wet application and dry application. Both methods have distinct advantages and disadvantages that should be carefully considered before proceeding.
Before applying the wet-application method, an adhesive is sprayed on the surface of the car. This method is ideal for complex curves because it ensures a completely smooth finish with no air bubbles, wrinkles, or discoloration caused by a heat gun or blade. The disadvantage is that it takes a long time and patience because each piece must be carefully cut, perforated, and applied.
The dry-application method involves sticking the film directly to the surface of the car with a squeegee. This technique is best for larger areas since it eliminates the need for trimming or cutting around intricate edges. The downside is that this technique can lead to air pockets, wrinkles, and other imperfections if not done correctly. Heat guns may also be necessary to conform around corners and curves.
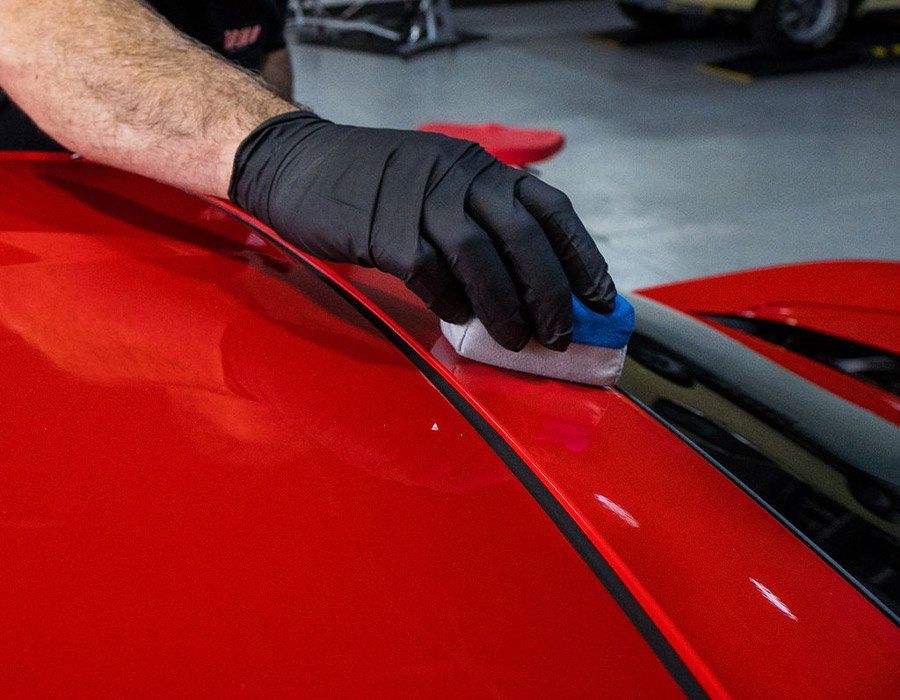
Once you have chosen your preferred technique and have all of the supplies needed, start cutting and applying small pieces at a time. Gently press down on each section with a soft cloth or squeegee until secure. Continue working in sections until complete coverage has been achieved.
Ensuring Proper Installation
A critical step in the process is ensuring that the paint protection film is properly applied. This requires careful surface preparation and meticulous attention to detail at every stage of the procedure. Before moving on to the next step, the installer must ensure that the film is appropriately sized, trimmed, and applied without stretching or loosening.
It is crucial to take the temperature of the vehicle's exterior surface into account when installing the protection film. Extreme heat can break down the glue on the film, which makes it hard for it to stick properly. However, insufficient heat can also prevent proper adhesion. The film needs to be heated the right way to make sure it sticks well and doesn't have any air bubbles.
It is also essential for installers to thoroughly inspect their completed work. Even small air bubbles can detract from the overall appearance of the protective film and should be eliminated whenever possible.
Finally, it is advised that installers of paint protection films use the proper safety equipment and adhere to the proper safety procedures. Gloves, masks, eye protection, and breathing protection must be worn when working with the films to prevent exposure to hazardous substances.
Why Should You Choose OCD for PPF Installation?
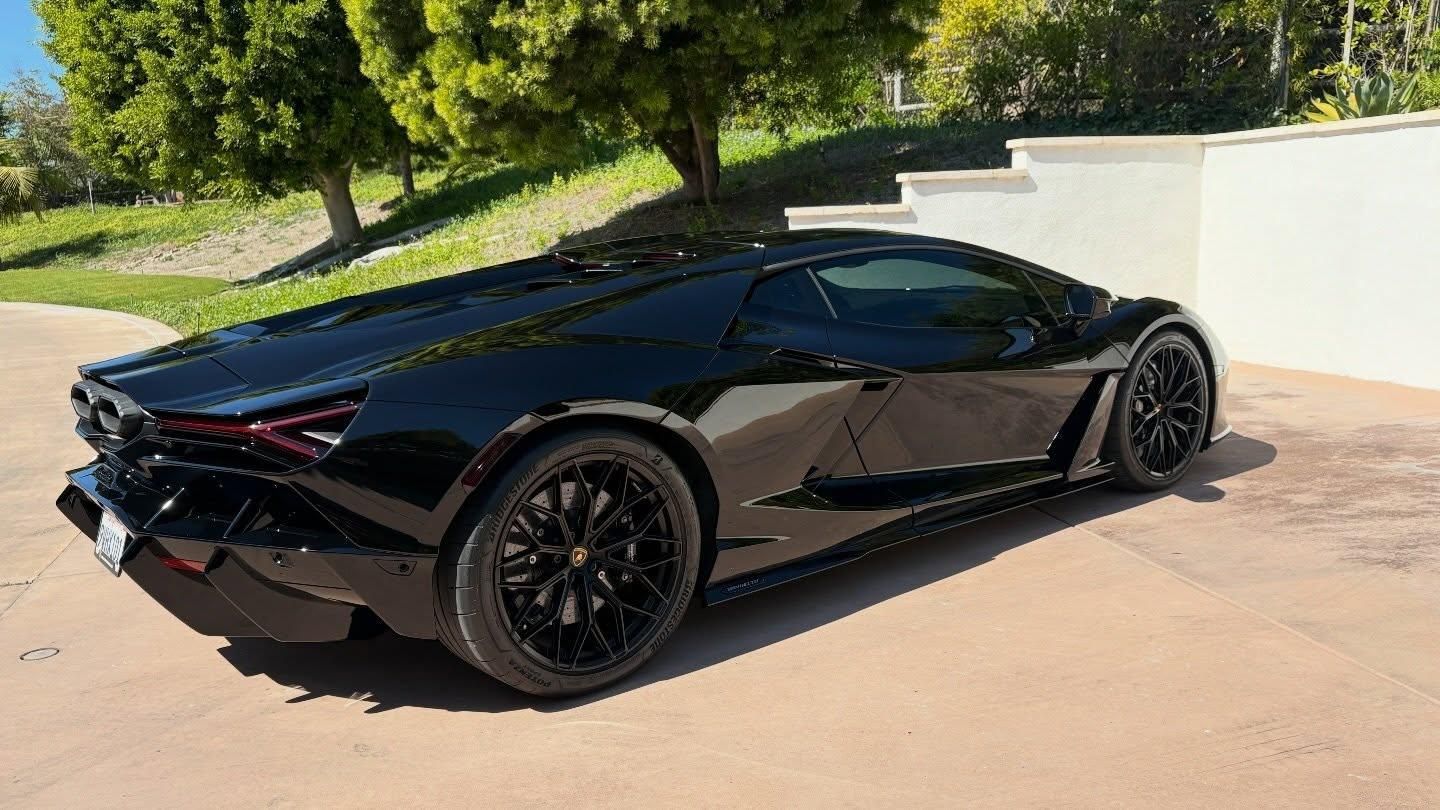
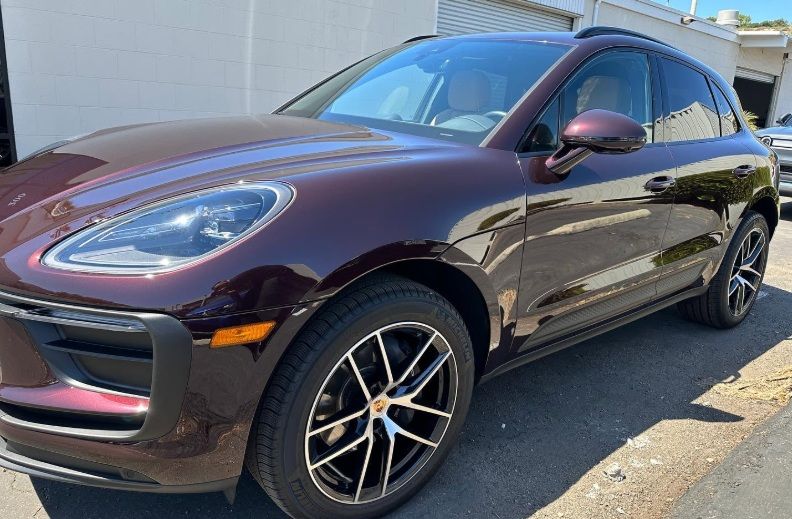
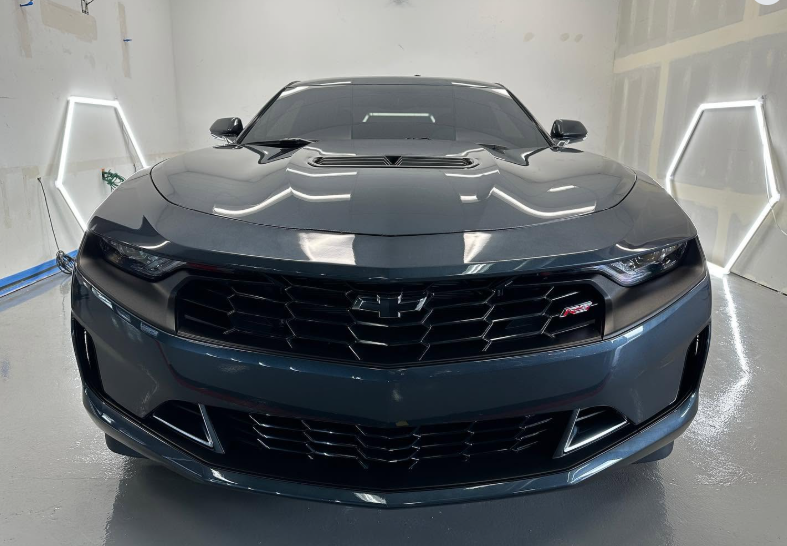
Installing paint protection film on your vehicle is a good long-term investment in its health and aesthetics. Anyone can apply PPF to their automobile with the correct tools and techniques, protecting it from scratches, chipping, and other sorts of damage. But professional hands and experience are required for successful installation of paint protection film.
Go no further than Official California Detailing if you live in the San Diego area and want to ensure that your car's PPF is placed with precision and care. Our skilled team will guarantee that your vehicle receives the finest quality service and that your PPF is properly placed, offering ideal protection for your vehicle.
Don't put off protecting your car's paint any longer. Contact Official California Detailing right away to set up a time for them to put paint protection film on your car.
Official California Detailing Blog